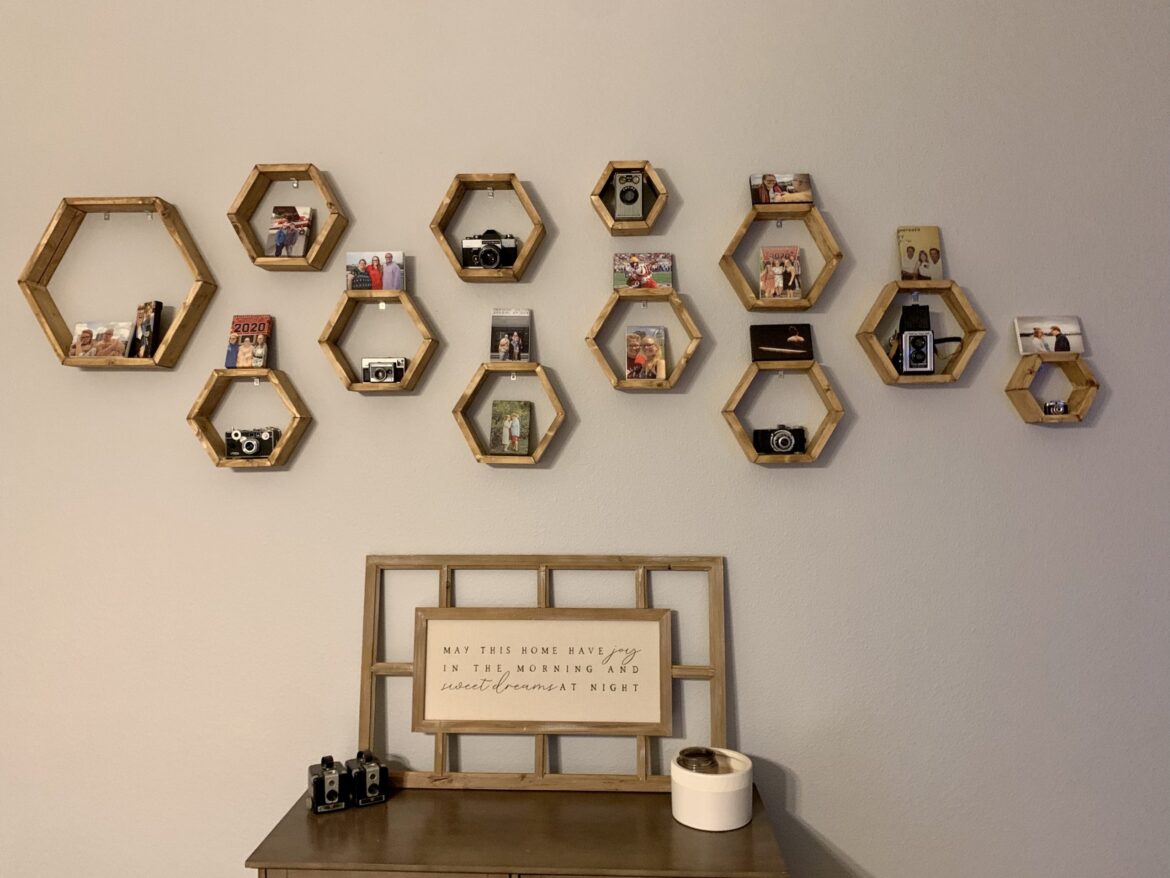

In addition to being a writer and photographer, I’ve also become quite the do-it-yourselfer (DIYer) and the majority of that is because of Hannah, my girlfriend. When we first moved into our house, we were obsessed with making things to make it our own even though we’re renting our house. The first project we did was making these octagon shelves.
Now, let me tell you, if you are going to tackle this for your first project, I would say one thing… Stay away!!! Although this project seems simple, it’s not. Still being so new at house projects, we didn’t have a lot of the tools needed to complete this project so we went ahead and bought them thinking we could use them for future projects so if you don’t have some of the tools listed, that’s okay, there are ways around them.
Items needed:
- Miter saw
- stain/ paint color of your choice
- Wood glue
- Staple gun (Optional)
- Sandpaper/ sander
Step by step
- Cut six pieces of 1 in x 3 in or 1 in x 4 in size wood the same length depending on how big you want your hexagon shelves. (I recommend getting the ten foot board and having the employees cut it in half if you have a small car.)
- Using a miter saw, take your equal pieces and cut a 30 degree angle into each side of the board.
- Line up boards in a straight line and tape the flat ends together.
- Flip pieces over and tape along the back ends of the pieces.
- Put glue in between each piece, make sure to wipe the extra glue away. (If you don’t wipe away the glue, your stain won’t take to the wood.
- Being careful not to break the tape, fold up pieces and glue the final piece, wipe glue clean again then hold for a few minutes and let sit overnight.
- (Optional) Staple gun the back side of the boards for extra strength.
- Using your choice of stain or paint, apply multiple coats to your wood and let dry overnight to make sure it is fully completed.
- Hammer a nail into the spots where you want your shelves, then center the L-bracket inside the top of the shelf and screw in, then hang on the nail.
- Show off your new shelves and marvel at your new home decor.